
- carbon crystal panel
- artificial stone
- Stone plastic wall panel
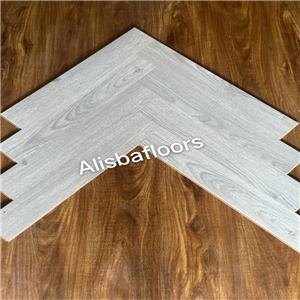
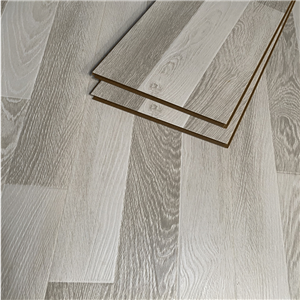
- Fish Bone Laminate Flooring
- self-adhesion wall sticker
- herringbone Floor
- High customer satisfaction: High quality products win praise
- About rhe SPC Flooring
- About Soft Stone Products
- Have a good news
- News from wall panels
- Industry news
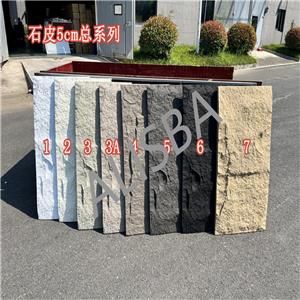
How to install PU feather stone
The installation process of PU feather stone is not complicated. The following are detailed installation steps and key points:
preparation
Material inspection: Carefully check whether the model, specifications, and color of the PU feather stone meet the design requirements, and also check for quality issues such as damage and cracks. Ensure that every feather stone is intact and undamaged to avoid affecting the final decorative effect.
Grassroots treatment: The installation surface must be flat, solid, clean, free of oil stains, dust, and loose materials. For uneven walls or floors, it is necessary to first level them with cement mortar or other materials; If it is an old wall, the loose coating or decorative layer should be removed.
Tool preparation: Prepare the necessary tools, such as a specialized glue gun, spatula, level ruler, tape measure, art knife, brush, etc. Ensure that the tools are complete and functioning properly.
Pre layout
Before formal installation, pre arrange the PU feather stone on the installation surface. Place feather stones according to the design pattern or paving method, observe the overall effect, adjust the layout, ensure the pattern is coherent and the color matching is coordinated, and determine the specific position of each stone. This can improve installation efficiency and avoid rework in the future.
Apply glue
Choose adhesive: Use specialized adhesive suitable for PU material to ensure good adhesion, water resistance, and durability of the adhesive. The usage methods of different brands and types of adhesives may vary slightly, and it is necessary to strictly follow the product manual for operation.
Application method: Use a glue gun or spatula to evenly apply the glue to the back of the PU feather stone. Pay attention to applying it all over, especially on the edges, to ensure that the glue thickness is uniform, generally controlled at around 2-3 millimeters. For larger feather stones, multi-point application or grid like application can be used to ensure firm bonding.
Installation and fixation
Wall/floor tiling: Accurately stick the PU feather stone coated with glue to the base layer according to the pre arranged position, gently press it to ensure full contact between the feather stone and the base layer, and squeeze out excess glue. Use a spirit level to check the flatness at all times, ensuring that each stone is in the same plane and avoiding unevenness.
Splicing alignment: During installation, pay attention to the splicing alignment between adjacent feather stones. Ensure even and consistent gaps, and natural and smooth pattern connections. For feather stones with specific texture or pattern requirements, they should be spliced strictly according to the design direction to ensure overall aesthetics.
Fixed method assistance: Before the glue is fully cured, tape or temporary supports can be used to fix the feather stone to prevent it from shifting. Especially when installing on vertical walls, this step is particularly important to ensure that the pu feather stone remains stable during the glue drying process.
Cleaning and joint filling
Excess glue cleaning: After installation, promptly clean the remaining glue on the surface of the feather stone with a damp cloth or specialized cleaning agent to avoid difficulty in removing the glue after it dries and affects its appearance.
Joint filling treatment: If the design requires a joint filling effect, after the glue is completely cured, choose a joint filling agent that matches the color of the pu feather stone for joint filling. Fill the gaps with sealant, compact and smooth them with tools to make them full and even, further enhancing the overall decorative effect and waterproof performance.
