
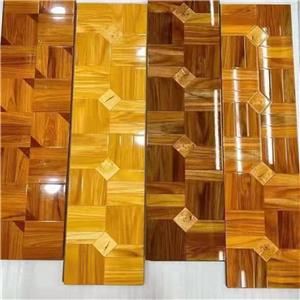
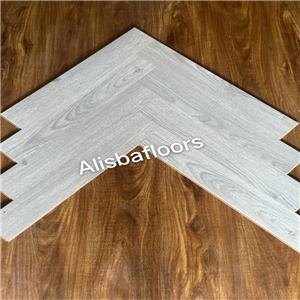
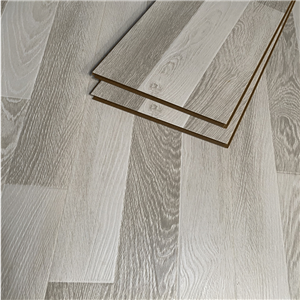
Installation of Spc crystal wall panel
The installation of SPC crystal wall panels is relatively simple, but certain steps and specifications need to be followed to ensure installation effectiveness and quality. The following is the detailed installation process:
Preparation before installation
Wall base treatment
Ensure that the wall base is flat, dry, clean, and free of cracks. Use a level to check the flatness of the wall, with an error not exceeding 3-5 millimeters. If the wall surface is uneven, it needs to be leveled with putty or cement mortar.
Check the wall humidity, which should be controlled within a reasonable range (generally not exceeding 15%). Excessively damp walls can affect the adhesion effect of wall panels, and humidity can be reduced through ventilation or the use of dehumidification equipment.
Remove dust, oil stains, loose particles, and other impurities from the wall to ensure a clean and tidy appearance.
Preparation of materials and tools
Material: Accurately calculate the required quantity of SPC crystal wall panels based on the wall area and design plan, and prepare an appropriate amount of spare panels. At the same time, prepare supporting materials such as closing lines and yin-yang corner lines.
Tools: Prepare tools such as tape measure, electric saw (for cutting wall panels), air nail gun or nail gun (for fixing lines), silicone gun (for applying sealant), level ruler, ruler, rubber hammer, etc.
Installation process
Bullet line positioning
According to the design requirements, mark horizontal and vertical reference lines on the wall to determine the installation position and height of the wall panels. The horizontal reference line is used to ensure that the wall panel is installed horizontally, while the vertical reference line ensures that the wall panel is installed vertically to avoid tilting or unevenness.
If multiple wall panels need to be installed, it is also necessary to mark the separation lines of each wall panel for accurate installation.
Installation starter board
Start installing the first wall panel from the corner or one end of the wall. Align the wall panels according to the snap line position, ensuring that the bottom of the wall panels is reserved with appropriate expansion joints (usually 8-10 millimeters) with the ground or skirting line to adapt to the expansion and contraction of the wall panels caused by temperature changes.
Apply specialized wall panel adhesive or structural adhesive evenly on the back of the wall panel, with a thickness of about 3-5 millimeters. Stick the wall panel onto the wall, gently press it to make it fully adhere to the wall, and gently tap it with a rubber hammer to ensure that the wall panel is installed firmly without any hollowing.
Install the remaining wall panels in sequence
After the installation of the first wall panel is completed, install adjacent wall panels using the same method. During installation, it is important to ensure that the joints between the wall panels are tightly aligned. A ruler can be used to check the flatness and ensure that the height difference between adjacent wall panels does not exceed 0.5 millimeters.
For the wall panels that need to be cut, use an electric saw to cut them according to the actual size. The edges of the cut wall panels should be polished smooth to avoid burrs that may affect the installation effect. The cut wall panels are also coated with glue and installed in the corresponding positions.
Yin Yang Corner and Closing Treatment
Corner treatment: At the corner, specialized corner lines can be used for decoration and protection. Use an air nail gun or glue to fix the male corner lines to the wall corners, ensuring that the lines are tightly attached to the wall panels. The lines at the corners should be smooth and aesthetically pleasing.
Yin corner treatment: Yin corner lines can be used or the wall panels can be directly cut and spliced at a 45 ° angle. When using concave corner lines, the installation method is similar to that of convex corner lines; When using 45 ° cutting and splicing, it is necessary to ensure accurate cutting angles and tight and seamless joints.
Closing treatment: Use closing lines to close the top, bottom, door and window openings on the wall. The color and material of the closing line should match the wall panel, and the installation should be firm and flat, making the decorative effect of the entire wall more perfect.
Cleaning and Inspection
After installation, promptly clean up any excess glue, dust, and other debris on the wall to keep it clean.
Thoroughly inspect the installation quality of the wall panels, including their flatness, verticality, tightness of joints, treatment of internal and external corners, and closure points. If there are any areas that do not meet the requirements, adjust and repair them in a timely manner.
precautions
When applying glue, attention should be paid to the amount and uniformity of the glue, to avoid excessive overflow and contamination of the wall panel surface, or insufficient glue leading to weak adhesion of the wall panel.
During the installation process, it is necessary to use a level ruler and a guiding rule for inspection at all times, promptly detect and correct installation deviations, and ensure installation quality.
For SPC crystal wall panels of different brands and models, the installation method may vary slightly, and should be strictly operated according to the product manual.
At the installation site, attention should be paid to good ventilation to avoid the odor of glue and other materials evaporating and causing discomfort to the human body.
