
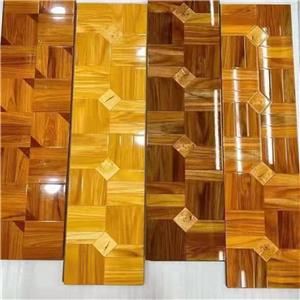
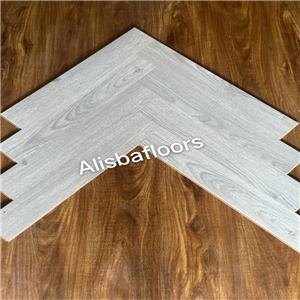
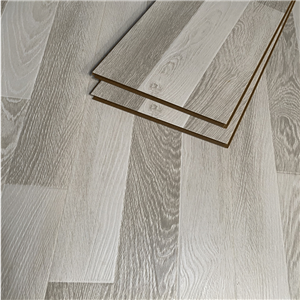
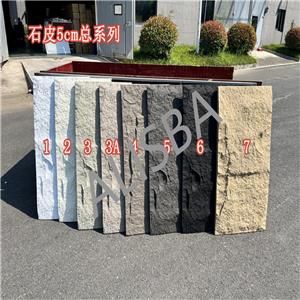
PS wall panel installation
The installation steps of PS wall panels are relatively clear, and as long as the process is followed, the installation work can be completed smoothly. The following is the detailed installation process:
Installation preparation
Materials and Tools: Confirm whether the model, specifications, and quantity of the PS wall panels meet the design requirements, and inspect the appearance of the wall panels for any defects or damage. Prepare installation tools such as tape measure, level, drill, screwdriver, utility knife, specialized adhesive, sealant, and ruler.
Grassroots inspection and treatment: Carefully inspect the condition of the wall base to ensure that it is flat, dry, clean, and free of cracks, hollows, oil stains, and other issues. For uneven walls, areas with significant deviations need to be leveled with cement mortar or putty; If there are cracks in the base layer, they should be repaired first; For oil stains, they can be cleaned with a cleaning agent. The flatness error of the base layer should be controlled within a very small range, such as a deviation of no more than 3 millimeters per square meter, based on the inspection with a ruler and a feeler gauge.
Measurement and layout
Accurate measurement: Use a tape measure to accurately measure the length and height of the wall and record the data. For walls with obstacles such as doors, windows, columns, etc., it is necessary to measure their position and size in detail to prepare for subsequent layout.
Reasonable layout: Plan the layout based on the measured data and the specifications and dimensions of the PS wall panels. When typesetting, try to start from one end of the wall and arrange them in sequence to ensure that the wall panels are neatly and aesthetically pleasing. At the same time, the continuity and symmetry of the pattern should be considered. For wall panels with patterns or textures, it is necessary to ensure that the pattern is coherent and natural after splicing. Minimize cutting as much as possible. If cutting is necessary, it should be arranged in inconspicuous locations such as corners of walls or furniture obstructions.
Installation and fixation
Snap line positioning: According to the layout plan, pop up horizontal and vertical installation control lines on the wall as the reference line for wall panel installation, ensuring the verticality and flatness of wall panel installation. The bullet line should be clear and accurate, with errors controlled within a very small range.
Pre installation adjustment: Pre install the PS wall panels on the wall according to the layout order, check whether the joints between the wall panels are tight and flat, and whether the patterns are aligned. If there are any issues, make timely adjustments and corrections.
Formal installation
Buckle fixing: If using a buckle installation, first drill holes on the wall with an electric drill at a certain distance, and then fix the buckle in the hole. Next, align the PS wall panel with the buckle and firmly insert it to ensure a secure connection between the wall panel and the buckle.
Adhesive fixation: If adhesive is used for bonding, apply specialized adhesive evenly on the back of the wall panel and the base wall surface. The application thickness should be moderate and uniform, generally controlled at around 2-3 millimeters. After the application is completed, quickly stick the wall panel to the wall according to the marked position, and gently tap it with a ruler or rubber hammer to make it fully adhere to the wall, exhaust the air, and ensure a firm adhesion.
Splicing and Closing Processing
Splicing treatment: The PS wall panel splicing should be tightly adhered without leaving any gaps. For wall panels with tongue and tenon designs, it is necessary to ensure accurate interface docking; For flat wall panels, a small amount of sealant can be applied at the joint to enhance sealing and aesthetics.
Closing treatment: Closing treatment is carried out at the internal and external corners of the wall, door and window openings, and other positions. Special yin-yang corner lines can be used for decoration at the yin-yang corner, which not only protects the wall corner but also makes the wall panel connection more beautiful; At the door and window openings, door frame lines or decorative frames can be installed according to design requirements to make the transition between the wall panels and the doors and windows natural.
Inspection and cleaning
Comprehensive inspection: After installation, use a level to check the verticality and flatness of the wall panels. The error should meet the relevant standard requirements, with a general verticality deviation of no more than 2 millimeters and a flatness deviation of no more than 1 millimeter. At the same time, check whether the joints of the wall panels are tight and firm, whether the patterns are aligned, and whether the overall appearance is beautiful.
Cleaning up the site: Clean up residual adhesive, sealant and other stains on the walls, clean up debris and garbage on the ground, and keep the construction site clean.
