- carbon crystal panel
- artificial stone
- Stone plastic wall panel
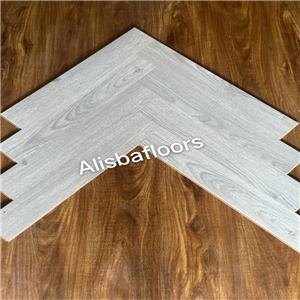
- Fish Bone Laminate Flooring
- self-adhesion wall sticker
- herringbone Floor
- High customer satisfaction: High quality products win praise
- About rhe SPC Flooring
- About Soft Stone Products
- Have a good news
- News from wall panels
- Industry news
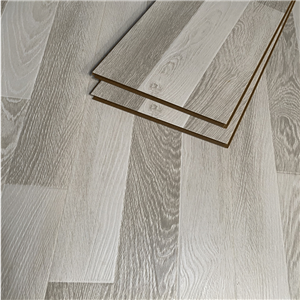
Installation of engineering laminate floor
engineering laminate floor Preparation before installation
Ground inspection and treatment: Ensure that the installation ground is flat, dry, clean, and free of cracks. The ground flatness error should be controlled within a certain range (generally not exceeding 2-3 millimeters). If there is any unevenness, it needs to be leveled with materials such as cement mortar first. For damp ground, moisture-proof treatment should be carried out by laying moisture-proof film. Remove debris, dust, etc. from the ground to ensure a tight fit between the floor and the ground after installation.
Material and tool preparation: Accurately calculate the required quantity of engineering laminate floor based on the installation area, and prepare supporting auxiliary materials such as skirting boards and buckle strips. Common installation tools include tape measures, saws, hammers, pry bars, rubber hammers, etc., to ensure that the tools are intact and can be used normally.
Pre laying of flooring: Before formal installation, pre lay the flooring at the installation site according to different packaging batches and colors, observe the overall effect, and adjust the arrangement order of the flooring to make the texture and color transition of adjacent flooring as natural as possible. At the same time, check if there are any quality issues with the floor, such as scratches, missing corners, etc., and replace it promptly if there are any problems.
engineering laminate floor Formal installation
Laying moisture-proof film: Lay a layer of moisture-proof film on the prepared ground, and the moisture-proof films should overlap each other by at least 10-15 centimeters, and seal the interface with tape to prevent moisture infiltration. The moisture-proof film at the corner of the wall should be flipped up to a certain height (about 5-10 centimeters) to enhance the moisture-proof effect.
First row floor installation: Start from one corner of the room, place the tongue edge of the first floor against the wall, and then tightly connect the tongue edges of the subsequent floors with the groove edges of the previous floor in sequence. Use a rubber hammer to gently tap the surface of the floor to ensure that the connection is firm and seamless. During the installation process, it is important to maintain the horizontal and vertical alignment of the floor.
Subsequent floor installation: When installing to the second and subsequent rows, align one end of the floor with the corresponding position of the previous row of floors, then tilt it at a certain angle (usually 30 ° -45 °) and insert it into the slot, then gently press down and push forward to fully engage the tongue edge of the floor with the slot edge. Similarly, use a rubber hammer to strike and secure each floor to ensure a tight connection between them. When encountering obstacles such as door, window openings, or pillars, use a saw to cut the floor into appropriate sizes for installation.
Edge trimming: After the floor installation is completed, edge trimming is performed. Install skirting boards around the room, fix them to the wall, cover the gaps between the floor and the wall, and provide aesthetic and protective effects. Install corresponding buckle strips, such as T-shaped buckle strips, L-shaped buckle strips, etc., at the junction of different rooms or floors with other floor materials to make the transition more natural and prevent the edges of the floor from warping.
engineering laminate floor Check after installation
After installation, conduct a comprehensive inspection of the installation quality of the floor. Check whether the floor surface is flat and whether there are any unevenness; Check whether the joint gaps between the floors are uniform and consistent, and the gap width should meet the product requirements (generally not exceeding 0.5 millimeters); Check whether the installation of the skirting board and buckle is firm and aesthetically pleasing. If there are any problems, adjust and repair them in a timely manner. Finally, clean up the construction site and organize the remaining materials and tools back to their designated locations.
